Labels

Monday, January 28, 2013

Roast Part 3: Taco Night


It's time for the third and last meal of the weekend using the chuck roast I cooked on Friday.  First there was a simple roast beef meal with rice and gravy, then spaghetti with chopped roast added to the sauce. This last meal is a soft taco bar with shredded roast beef.

This was the simplest meal, by far, with mostly just reheating and chopping involved.

I decided to serve the tacos with a packaged Mexican rice mix, so I go that started first.

Then I put the shredded beef I had set aside Friday night into a small pot with a steamer basket set inside. I added about an inch of water to the pot and set it over medium-high heat when the rice had only about 8 minutes left to cook.

Next I started preparing the rest of my toppings. I shredded green leaf lettuce (because that's the kind I had) and cheddar cheese. I chopped some green onions and cilantro. I put a dollop of light sour cream in a ramekin and added some chipotle in adobo sauce, along with a little salt, to make a spicy sour cream spread. I also opened up a container of blue cheese crumbles.

Once the meat was reheated and the rice cooked, I wrapped a few flour tortillas in damp paper towels and heated them to a minute in the microwave.

Then the taco bar was open!

On one taco I used the spicy sour cream, beef, cheddar, lettuce, tomatoes and cilantro. On the other I used regular the plain sour cream, but substituted the cheddar cheese for blue cheese and left off the cilantro. Both were really good, and it was easy to forget that the meat had started out as an oven roast two nights before.

I really enjoyed my weekend of creating three meals with one protein. It was a challenge to come up with three completely different menus, making leftovers interesting every night. While I don't know that I'll do this on a regular basis, I hope it will inspire me to re-imagine leftovers in the future and keep meals (and meal planning) more fun!

Sunday, January 27, 2013

Roast Part 2: Beefy Spaghetti

So, Friday morning I went to the grocery store and bought a chuck roast. I planned for the roast to serve as the basis for three meals. Yesterday's post details how I made the meat that will go into Saturday night's beefy spaghetti.

For the spaghetti sauce, I used the sauce recipe in the following post on the Food Network website: Turkey Meatballs with Quick and Spicy Tomato Sauce and Whole Wheat Spaghetti, by Ellie Krieger. (If I had a clue about web technology, no doubt I could add a link taking you directly to the recipe. Alas, I have no clue.) 

Needless to say, I did not use the turkey meatball part of the recipe on this day. Nor did I use the whole wheat spaghetti, but I'll explain that later. I have made this recipe as written including the turkey meatballs, and we really liked it. That's how I knew this sauce would be good with the beef.

On Friday, while the beef was roasting in the oven, I decided to get a head start on Saturday night's dinner.    
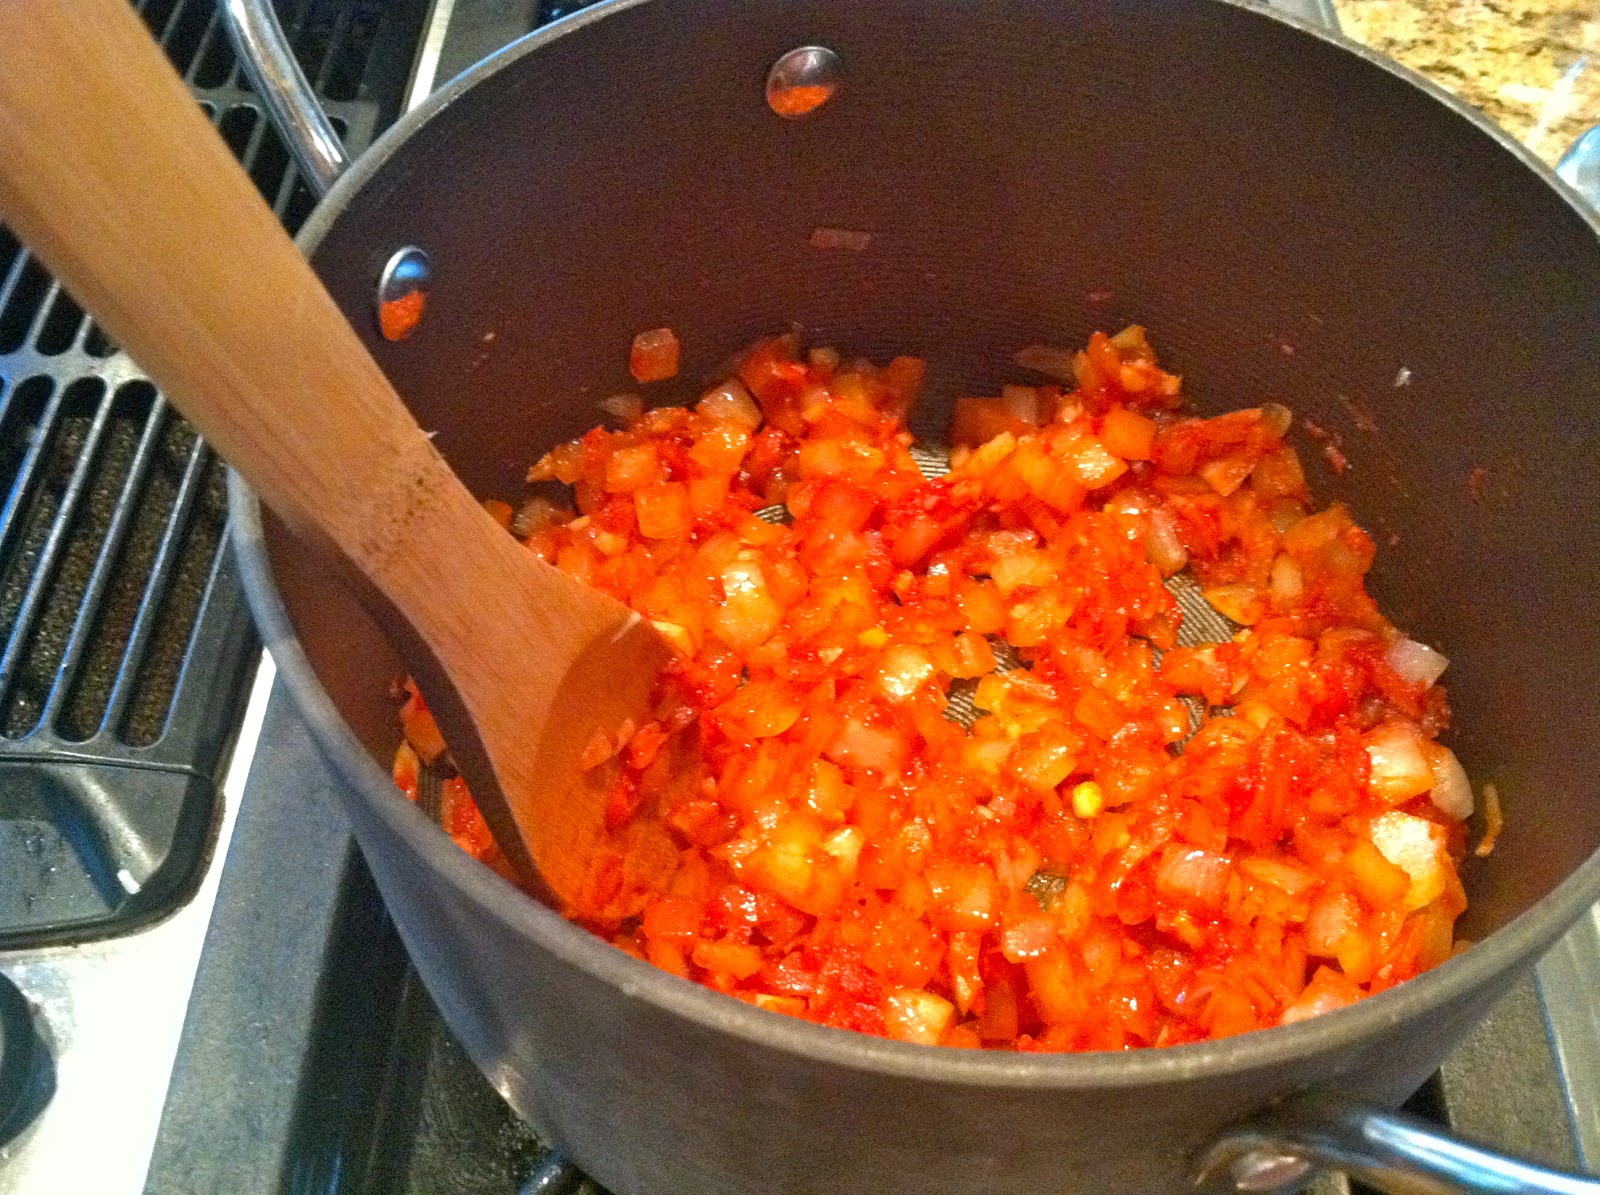
Start by chopping one onion and three cloves of garlic. Add olive oil to a 4-quart pot over medium heat. After a couple of minutes, add the onion to the pot, sprinkle with salt, and cook until softened. Add the garlic and cook a minute or so.    Add the tomato paste. 

I like tomato paste that comes in a tube. So often recipes call for a tablespoon or two and a can is just a waste. By using the tube, you can use small amounts at a time, put the tube back in the refrigerator, and have tomato paste for another day. 

It's pretty much the same thing with chipotle in adobo. You buy it in the ethnic section of the grocery store and it comes in a can. Dump everything out of the can and chop it really finely. What you don't use for the recipe, scrape into a snack zip-top bag, label, and toss in the freezer. Then you can break off enough to use for any recipe that comes along.  

This time, I took the whole bag out, used the amount for this recipe, and put the rest in the refrigerator. (Hint: it will be used in Part 3 of the roast recipes.)  
Stir the tomato paste and chipotle into the onions and garlic for a minute or so. 
Add in the rest of the ingredients and continue the recipe as on the website.

After the sauce has cooked 15 minutes, take it off the heat and add the meat saved from the previous day's roast. At this point, I refrigerated the sauce to reheat the next day.
On Saturday, we were out of the house until about 6:45 p.m. When we got home, I put a large pot of water on to boil for the spaghetti. Instead of whole wheat spaghetti, I use Ronzoni Smart Taste pasta which is "white" pasta with extra fiber. This is close to whole wheat pasta in Weight Watcher points because of the fiber, and tastes exactly the same to me as regular pasta. 

(To let you in on how much I love this pasta, I have a case each of thin spaghetti and rotini in my basement. Frightening, I know.)

Next, I took the sauce out of the refrigerator and put it in a pot over medium heat. Watch it closely, as tomato products tend to scorch on higher heats.

Once the pasta is cooked according to the package directions for "firm," reserve a cup of the cooking liquid, drain the rest of the pasta, and add the pasta to the sauce. Toss the pasta with the sauce to combine completely. Use the reserved liquid, if needed, to thin the sauce to the desired consistency. I forgot to add the fresh basil, a fact which did not come to my mind until I was typing this entry. Don't forget the basil!

To accompany the pasta,  I decided to serve a Caesar salad, also by Ellie Krieger. (Copy the following into your bowser. Again the disclaimer regarding technology)
http://www.finecooking.com/recipes/caesar-salad-grilled-shrimp.aspx

As before, I only used part of this recipe. I used the croutons and the salad, but not the shrimp. 

Here are the croutons when done:

 Mix up the dressing in the bowl in which you want to serve the salad, add chopped/sliced Romaine lettuce, and toss.


I served the spaghetti and salad on one plate. You, of course, should serve in whatever way makes you, or the ones you serve, happy!

Tune in tomorrow for Part 3....

Saturday, January 26, 2013

One Roast, Three Dinners

Last weekend,  I cooked a whole chicken in the crock pot and used the finished product for three meals: chicken and rice Friday night, chicken salad Saturday for lunch, and chicken enchiladas Sunday night. While I do not plan to use that same crock pot recipe again (my oven roasted recipe is much better), I was inspired to try the same thing again this weekend.  

This weekend, I went with a boneless chuck roast. (I went to the store looking for a chuck roast on the bone, but this is what Publix had on this cold, dreary Friday morning.)

This method comes compliments of my sister's in-laws and is in my personal recipe book labeled "Bullard Pot Roast." (Thanks, Linda!)

Preheat the oven to 300 degrees. Pat the roast dry. Liberally add salt, pepper, and granulated garlic to both sides.  See? 

Since I only had enough granulated garlic for one side of the roast, I sliced a few fresh garlic cloves for the second side.

If you use fresh garlic, don't add it yet!

Here's the only place I changed it up a little. The recipe calls for the roast to be placed in a glass baking dish and broiled in the oven on each side to brown. I've done that before, but for some reason I just wanted to use my beloved, bright and cheery dutch oven this time. 
Add a little olive oil (maybe a tablespoon) to a dutch oven over medium-high heat on the stove. When the oil is hot, add the roast to the pot. (I first put down the side that had the granulated garlic on it).

Once it's nice and brown, turn it over and brown the other side. Then flip it back over so the first side browned is on the top. Scatter the sliced garlic across the top of the roast. Be careful none falls to the bottom of the pan or it may burn.  
Slice an onion in about 1/2" thick slices and place the slices on top of the roast. I think they sort of baste the roast as it cooks. 

Add about a cup of water to the pot. Add more if you like a lot of gravy.

Place a tightly-fitting lid on top. (Since the roast was going to be in the oven for a long time, I covered the lid's handle with aluminum foil.)  If you use the oven-broiled method to brown the roast, cover the baking dish tightly with several layers of aluminum foil to seal. 

Put the pot/dish in the oven and cook for 2 - 3 hours. (My roast was about 3 pounds and I cooked it for 3 hours).

After 2 - 3 hours, take the roast from the oven and it will look lovely and smell so delicious!

Remove the onions to a platter to serve alongside the roast. If you use fresh garlic, you can decide to leave it on the roast or scrape it off at this point. 

Move the roast to a cutting board. If you plan to use the roast for more than one meal,  only add the amount you need for this meal to the platter with the onion. Leave the rest on the cutting board for preparing for the other meals. 

For this meal, I wanted to make gravy. I drained the liquid from the pot and strained it into a fat separator. I added one tablespoon of olive oil back to the pot and set it over medium heat. I added one tablespoon of flour and whisked to combine for about a minute. I added some of the reserved liquid back to the pot and whisked to combine. When I tasted it, it had great flavor, but was too salty. I added some water, whisked, tasted. I tweaked it, adding more reserved liquid or water, until it tasted yummy. I let it simmer for a few minutes to thicken it. 

I rounded out the meal with Ellie Krieger's Roasted Nutmeg Cauliflower, boxed quick rice, and canned green beans. (I love canned green beans! Don't judge.) I thought the resulting plate looked nice, and it tasted great too.


Stay tuned for the meals I made using the rest of the roast!