
http://abc.go.com/shows/the-chew/blogs/Craft-Corner/Clinton-Kelly-Entertain-With-Style-Summer-Decor
I made a few minor changes in mine. Theirs had the pots turned right-side-up, but I thought they would be more stable with the widest part of the pot down. Also, I tried to make the pots as small as possible compared to the saucers so I would maximize serving space, but still maintain stability.
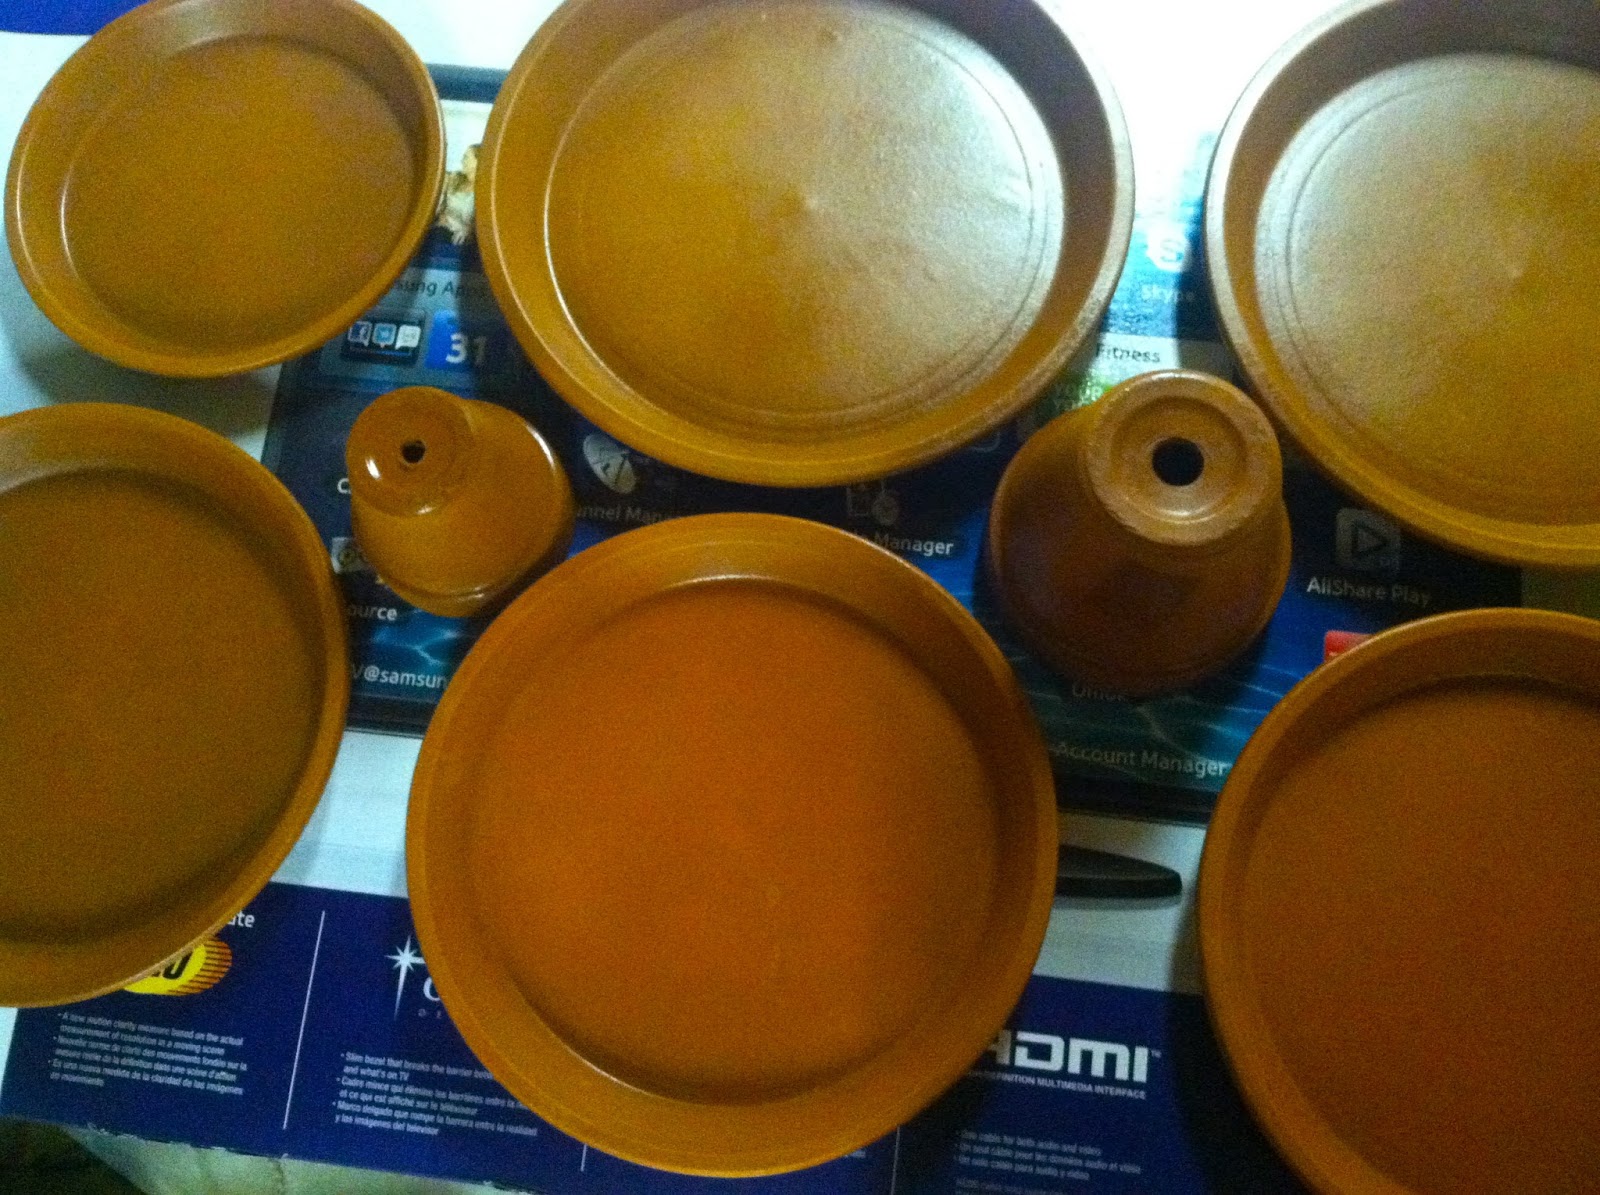
I went to Home Depot and Pike Nursery and bought saucers and pots. No one seemed to mind as I used a space on the shelf to try out pieces for my servers. I mixed and matched pots and saucers until I had what I wanted. I got materials for one three-tier server with each tier smaller than the one below, one two-tier server with saucers of the same size, and one plain saucer to use as a tray.
I washed all of the saucers and pots with soapy water and let them dry for a day.
Next, I realized I wanted to seal the terra cotta so it wouldn't stain with moisture, and also to produce a consistent color.
 I got a spray can of terra cotta sealer at Michael's. An employee said the sealer was food safe, but the can didn't mention it at all. I decided I would line the servers with cloth napkins, parchment, or saran wrap just in case.
When it came time to seal the pieces, I started to spread paper on the garage floor. Then I thought, "Why should I be uncomfortable in my crafting?" I set one cardboard box on top of another in my basement utility room. The room is not quite climate controlled, but it's close enough and there was no breeze to blow the spray around!
I used two coats of the sealer.
Once the sealer was no longer tacky (within one hour), I assembled the servers.
I plugged in my new mini glue gun so it could begin heating up.
A glue gun is pretty important in the crafting world!
This one worked fine but leaked a little. Yeah for paper towels!

(Hmmm, could this have something to do with the often childlike quality of my crafts?)

I started with the two-tier server. I set out the bottom saucer, then added hot glue to the rim of the pot that would sit on top.
Working quickly, I set the pot in the center of the saucer and pressed. The glue dries really fast, so hurry!
Then I added glue to the other end of the pot.


This one turned out fairly even and centered.
Next, I used the same method for the three-tier server. I had three different sizes of saucers and two sizes of pots. This one did NOT turn out quite so centered, so we had to place it strategically on the table so as not to call attention to its wonkiness.
Mark the center of your saucers (on the top and bottom as appropriate) if you do this! I think the drainage holes in the pots would make it fairly simple to line up by eye.
Anyway, here's the three-tier one on its good side!

Obviously nothing more than glaze was needed for the serving tray.

A few things I learned and am passing along to you:
1) As already stated, mark the center point on your saucers. To be really accurate, you could run a small dowel (or chopstick) through the drainage hole of the pot to help line up the hole with the center mark.
2) After the shower, I was loading the larger server into the car and the top two tiers fell off of the base. Nothing was harmed, but I realized that for longevity, I should have used an adhesive made especially for ceramics.
 3) If possible, pass up pots that have stickers on them. One of my pots had a sticker-shaped mark left on it even after it was washed and sealed. I used it anyway. (Once again, childlike quality.....)
Anyway, overall I was very happy with how they turned out and how easy they were to do. I highly recommend this project.

Here's a picture of the table at the shower.
Go forth and craft!
No comments:
Post a Comment